
Teaching a child's first piano lessons
A child's first piano lessons set the pattern for everything that follows: how they listen, how they use their hands and how they practise at home. This guide walks through how I teach those first weeks, from the very first lesson to building a practice habit.
It's for teachers starting a new young beginner, whether you use the PianoForte Method or another book. The ideas fit alongside what you already do.
Take your time
When I was a young teacher, I felt pressure in these early weeks. I thought I needed to rush ahead so the child could play something and prove they were progressing. These days I spend as long as possible on the early concepts, because time spent at the beginning is so valuable later on.
There is so much to do in the first lessons to build a strong aural foundation, and aural development is the magic ingredient for learning music. No time is wasted taking time with these concepts.
Read more: Aural training in the first piano lessons
The first lesson, step by step
In the PianoForte Method, the first lesson introduces:
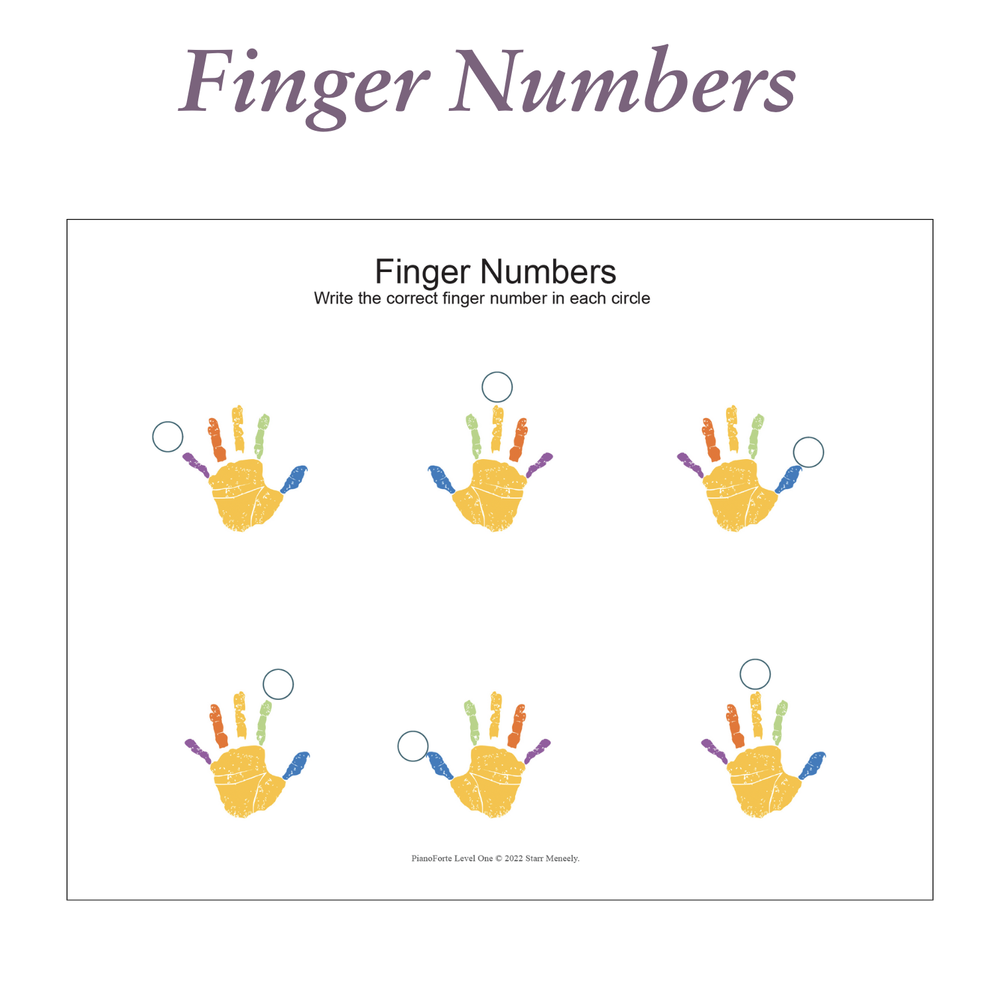
- Hands and finger numbers. Trace hands, number the fingers, and play finger games.
- The layout of the keyboard. Black and white keys, and the groups of two and three black keys.
- The singing voice. Move voices up and down together, with animal sounds and big stretches.
- High and low sounds. Take the voice game to the piano and explore high and low keys.
- So and Mi. The first two solfa notes, sung and signed.
- The first song, Flying Birds. Sung until it's secure, then played.
- Playing in different positions. Flying Birds in three places on the keyboard, so the student is transposing from day one.
The very first time I tried Flying Birds with a brand new student, it was sweet, musical and effortless. When the student left I stood there thinking: “What just happened? A first lesson has never felt like that.”
Watch it: The first piano lesson and the Level One video walkthrough
Hands and technique
Sound comes first, technique follows. Good technique is not a display of correct hand movements; it's the skilled production of musical sound. When children have the music in their imagination, they play in a way that matches their voice. Instead of abstractly correcting hand shape, we can say: “It's easier to make the sound you want if you make this adjustment with your wrist.”
Start with alignment. Sit at the right height and distance, feet flat to support the upper body, and shoulders, back and arms soft so the weight of the arm can move freely.
Delay the thumb. Begin with the tip of the third finger. It builds the domed hand shape that will eventually bring the thumb forward. Using the thumb too early causes the dreaded wrinkle in the wrist. When the thumb finally comes in, it rests naturally on its own tip on the edge of the key without collapsing the wrist. This takes time, but it's time worth taking.
Non-legato before legato. Non-legato teaches students to listen to the quality of each sound. It builds healthy hand and arm alignment and prepares them beautifully for legato, which comes later in the method.
Read more: Delay the use of the thumb, Non-legato to legato and Why piano technique is more than hand movement
Finding your way round the keyboard
In the first lessons, students learn the keyboard by its patterns: the groups of two and three black keys. Finding, circling and playing those groups on worksheets and at the piano gives them a map before any letter names.
Letter names and reading come later, through landmark notes. In Level Two students learn to recognise Treble G, Bass F and Middle C as a way to understand how the stave works. In Level Three they meet the note A: once students can find A, it's easy to find the rest of the notes quickly using the alphabet, and it opens up the whole range of the grand stave.
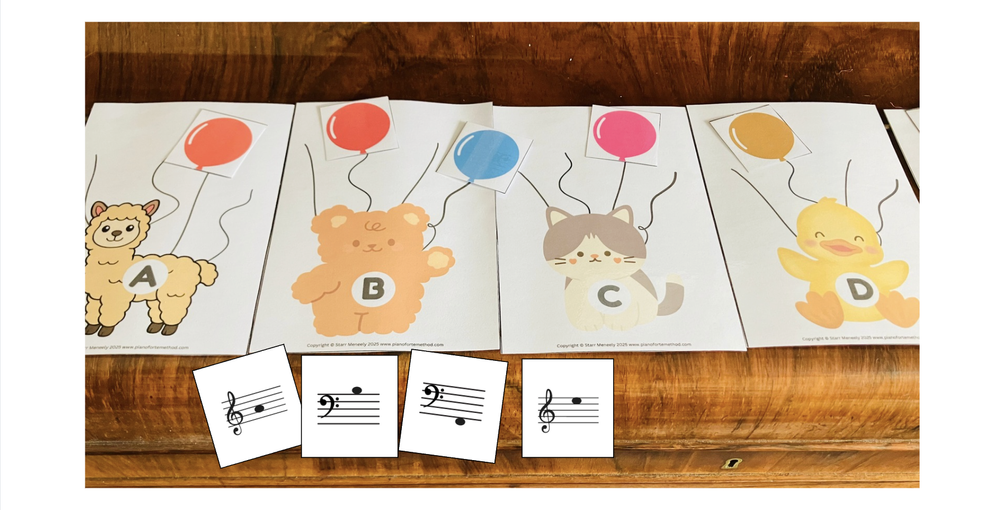
The goal is for students to learn how to read, not just to memorise the names of lines and spaces. Knowing the stave from memory comes naturally, eventually. Games like the Landmark Note A Balloons make that journey fun.
Read more: A fun game using landmark note A
Practice at home
Parents are people too. Before I had my own four children, I'd get cross when families arrived late with books forgotten and practice undone. Then I tried to support my own children's practice and it took three years to find a routine that worked. Family life is bigger and more complex than it looks from the piano stool, and compassion goes a long way.
Keep a music diary. Each student has a music diary where they track their practice each week, so everyone can see what's happening at home.
Try a gem jar. Each student has a small clear jar with their name on it. The rules are simple:
- Practise 4 days in the week: collect one gem.
- Practise 7 days in the week: collect two gems.
- Lessons don't count.
- At the end of term, students swap their gems for prizes in a little shopping spree, with you as shopkeeper.
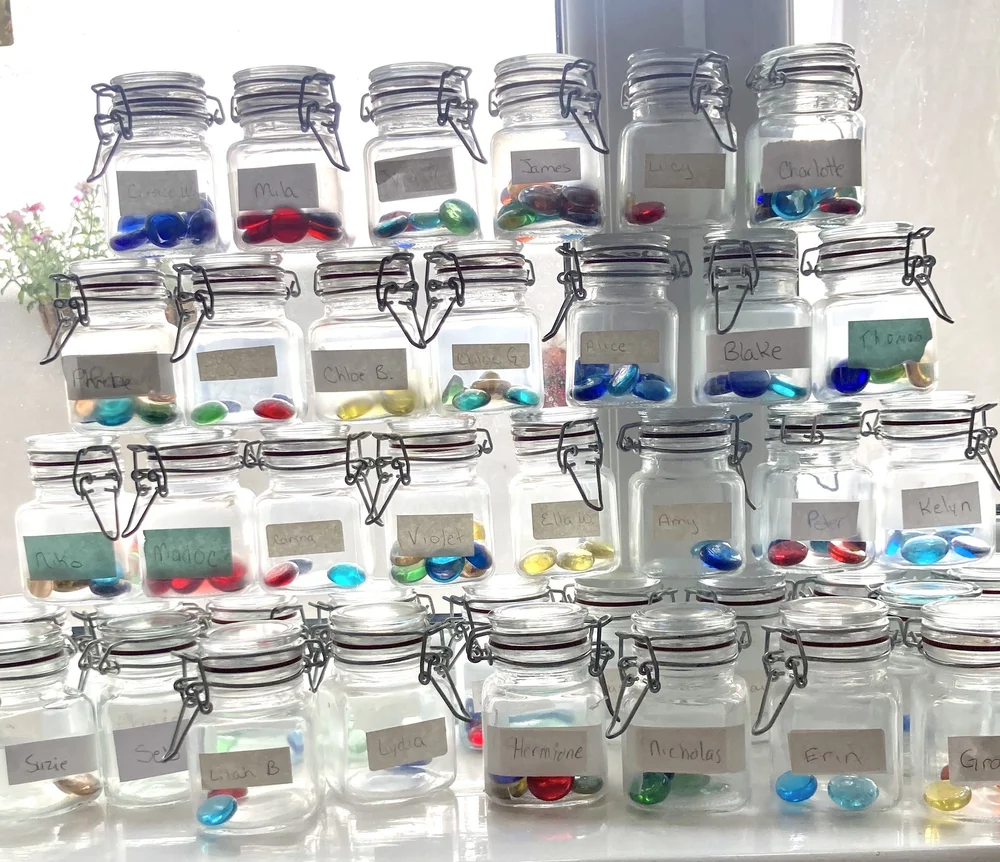
Children take it deadly seriously, and practice habits all round are really quite excellent.
Read more: The Gem Jar practice challenge and Teaching music students to practise
Questions teachers ask
How long should I spend on the first level?As long as the student needs. Each child develops at their own pace, and time spent on the early concepts is never wasted.
When should my student start reading music?After the sound is secure. In the PianoForte Method, Level One stays in solfa, and reading on the stave begins in Level Two.
Why not use the thumb from the start?Using the thumb before the arch of the hand has formed causes a wrinkle in the wrist. Starting with the third finger builds the domed hand shape that brings the thumb forward naturally.
What if a family never practises?Start with compassion. Busy, stressed families are often the ones who need music most. A music diary and a small reward like the gem jar help practice become a habit.
Can I use these ideas with my current method book?Yes. You don't have to change everything. Start small, with one song or one activity at a time.